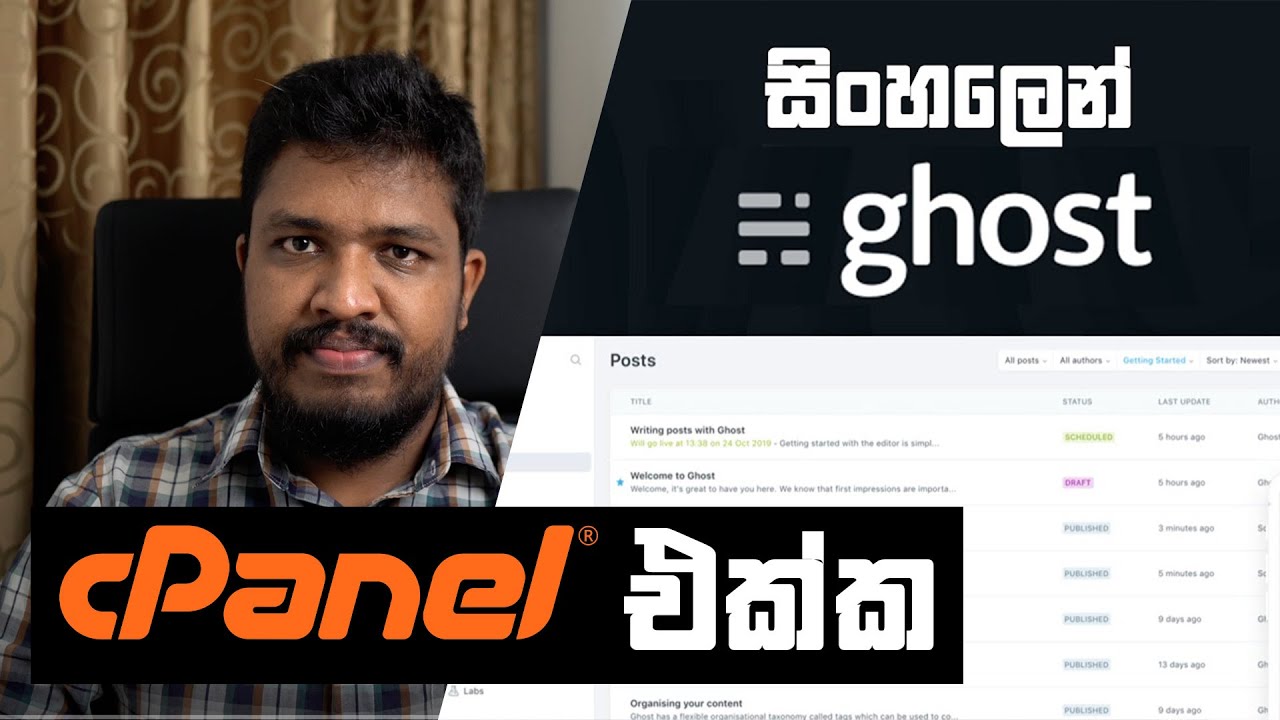
If you’re looking to create a sleek, modern blog or publication, Ghost CMS is a fantastic open-source platform designed specifically for professional publishing. Combining it with the user-friendly interface of cPanel can make managing your website even more convenient. In this guide, we’ll walk you through the steps to install Ghost CMS on a cPanel hosting environment.
Prerequisites
Before we begin, ensure you have the following:
- A cPanel Hosting Account: Access to cPanel with SSH capabilities.
- Node.js Support: Your hosting provider must support Node.js applications.
- A Domain Name: Pointed to your hosting account.
- Basic Command Line Knowledge: Comfort with using SSH and command-line operations.
Note: Not all shared hosting environments support Node.js. If you’re unsure, contact your hosting provider to confirm Node.js support.
Step 1: Accessing cPanel and Setting Up Node.js
1. Log into cPanel
- Navigate to
yourdomain.com/cpanelor use the link provided by your hosting provider. - Enter your username and password to access the cPanel dashboard.
2. Verify Node.js Availability
- In the cPanel dashboard, look for the “Setup Node.js App” or “Application Manager” under the Software section.
- If you don’t see this option, you may need to contact your hosting provider to enable Node.js support.
Step 2: Creating a Node.js Application
1. Open the Application Manager
- Click on “Setup Node.js App” or “Application Manager”.
2. Create a New Application
- Click on “Create Application”.
- Select the Node.js version: Choose a version compatible with Ghost CMS (check the Ghost documentation for the latest supported versions).
- Application Mode: Set to “Production”.
- Application Root: Specify the directory where Ghost will be installed (e.g.,
ghost). - Application URL: Enter your domain or subdomain (e.g.,
yourdomain.com). - Application Startup File: You can leave this blank for now; we’ll configure it later.
- Click “Create” to set up the application.
Step 3: Installing Ghost CMS
1. Access via SSH
- Use an SSH client (like PuTTY for Windows or Terminal for macOS/Linux) to connect to your server.
- Connect using your cPanel username, password, and the server’s IP address.
bashCopy codessh [email protected]
2. Navigate to the Application Directory
bashCopy codecd ~/ghost
3. Install Ghost-CLI
- Ghost-CLI is a command-line tool for installing and updating Ghost.
bashCopy codenpm install -g ghost-cli
4. Install Ghost CMS
- Ensure you’re in the application root directory.
bashCopy codeghost install local
Note: The local install is recommended for environments where you don’t have full server privileges.
Step 4: Configuring Ghost
1. Update Configuration
- After installation, navigate to the Ghost config file.
bashCopy codenano config.development.json
- Update the following settings:
- URL: Set to your domain (e.g.,
https://yourdomain.com). - Server Port: Ensure it matches the port assigned in your cPanel Node.js application (default is often
3000).
- URL: Set to your domain (e.g.,
2. Save and Exit
- Press
Ctrl + Oto save changes. - Press
Ctrl + Xto exit the editor.
3. Start Ghost
bashCopy codeghost start
- You should see a confirmation that Ghost is running.
Step 5: Setting Up a Reverse Proxy
Since Ghost runs on a Node.js server (usually on port 2368), we need to proxy requests from port 80 (the default HTTP port) to Ghost’s port.
1. Create a .htaccess File
- In your application’s root directory, create or edit the
.htaccessfile.
bashCopy codenano ~/public_html/.htaccess
2. Add Proxy Rules
apacheCopy codeRewriteEngine On
RewriteRule ^(.*)$ http://127.0.0.1:2368/$1 [P,L]
Note: Replace 2368 with the port your Ghost application is running on if different.
3. Enable Apache Proxy Modules
- This step may require assistance from your hosting provider if you don’t have root access.
- Ensure that the following Apache modules are enabled:
mod_proxymod_proxy_httpmod_rewrite
4. Restart Apache Server
- Again, this may require assistance from your hosting provider.
Conclusion
Congratulations! You have successfully installed Ghost CMS on your cPanel hosting account. You can now access your Ghost blog by navigating to your domain in a web browser. To manage your content, go to yourdomain.com/ghost and log in with the credentials you set during the installation.
Tips:
SSL Certificate: Consider installing an SSL certificate to secure your website (https://).
Regular Updates: Keep Ghost and Node.js updated to the latest versions for security and performance improvements.
Backups: Regularly back up your Ghost content and configurations.